


#8 Find a Life Worth Enjoying

I’VE ARRIVED A LITTLE EARLY
I couldn’t leave you without a little note this week because… I’m addicted. I’ll be keeping it fairly brief because this week has been crazy busy - how can a 3 day trip involve so much planning and preparation? I’m also landing in your inbox a few days earlier than normal because I’m not going to rely on the temperamental wifi at a campsite in Northamptonshire.
Despite the busy week, I have OBVIOUSLY made room for a spot of baking - with a focus on:
The arrival of one of my favourite annual sports tournaments - Wimbledon. Apart from the fabulous sporting action, I’m talking about all things scones, strawberries and cream.
A few foodie things I’ve made/will be packing for our weekend away.
Let’s get things CRACKING straight away…
THE ANYDAY, ANY MEAL COMFORT BAP
These humble little Baps (that’s a soft flat-ish roll for anyone that hasn’t heard the term before) are LITERAL bread-y comfort. They remind me so much of my childhood - my grandad would buy bread from the local bakery every day for me to have when I got home from school, meanwhile Grandma would be adamant I also needed a glass of cold milk - I have to admit, the bread was more appealing than the milk! My favourites were the white floury baps - light as clouds and pure doughy comfort - I would eat them plain - trust me I was a hardcore bread fan, it needed no accompaniment as far as I was concerned, but butter and jam were also welcome. Recently I have perfected my own - they are super simple to prepare, suffice for any meal and freeze really well which means you can enjoy them as and when. Basically a wonder roll!

INGREDIENTS
300g White bread flour
200g lukewarm water
6g Instant dried active yeast
6g fine sea Salt
25g Runny honey
25g Unsalted butter softened
METHOD
Measure the flour into a large bowl, add the salt on one side and the yeast on the other. Pour in the water, and add the butter & honey. Use a spatula to bring together to form a shaggy dough. Autolyse for 20 minutes, then knead either by hand or in a mixer for around 10 minutes or until full gluten development is achieved - it should be super stretchy and elastic - if in doubt give it a 10 minute rest, covered with a tea towel then check using the ‘windowpane test’ - it it’s still tearing easily, give it another knead. Once ready, transfer to a clean, lightly greased bowl and leave to prove in a warm environment for 60-90 minutes or until puffed up and voluminous - mine at least doubles if not triples in size.
Once risen, deflate the dough and dump out onto a very lightly floured work surface. Portion into 6 even chunks and roll into tight balls - lightly flour your hands to stop the dough from sticking to you as you shape the buns. Cover and rest for 10 minutes then use a rolling pin gently roll them into discs - approx 8-9cm in diameter. Transfer to a large lined baking tray leaving a gap between each disc to allow them to rise again. Cover - I use a large plastic bag - and prove (again in a warm place) for 45-60 minutes or until doubled in size. 20 minutes before you wish to bake, preheat the oven to 210C/190C fan.
Once risen, sift flour over the tops of the buns then bake in the oven for 10-12 mins - (they should be just golden at the edges and when probed with a digital thermometer, the internal dough temperature should be 90C or above). Transfer to a wire rack and leave to cool.
NOTES:
For breakfast: Bacon butties, egg muffins, PB and jam.
For Lunch: Egg mayo/Cheese and pickle, or thick with butter and dunked in soup.
For Dinner: loaded with your choice of burger, salad and sauce.For a bit of nutty wholesome-ness - Substitute 60g wholemeal flour for 60g of the white bread flour and use 180g lukewarm water & 25g fresh orange juice keep the remaining ingredients the same as the above - you may also need to extend the two prove times a little.
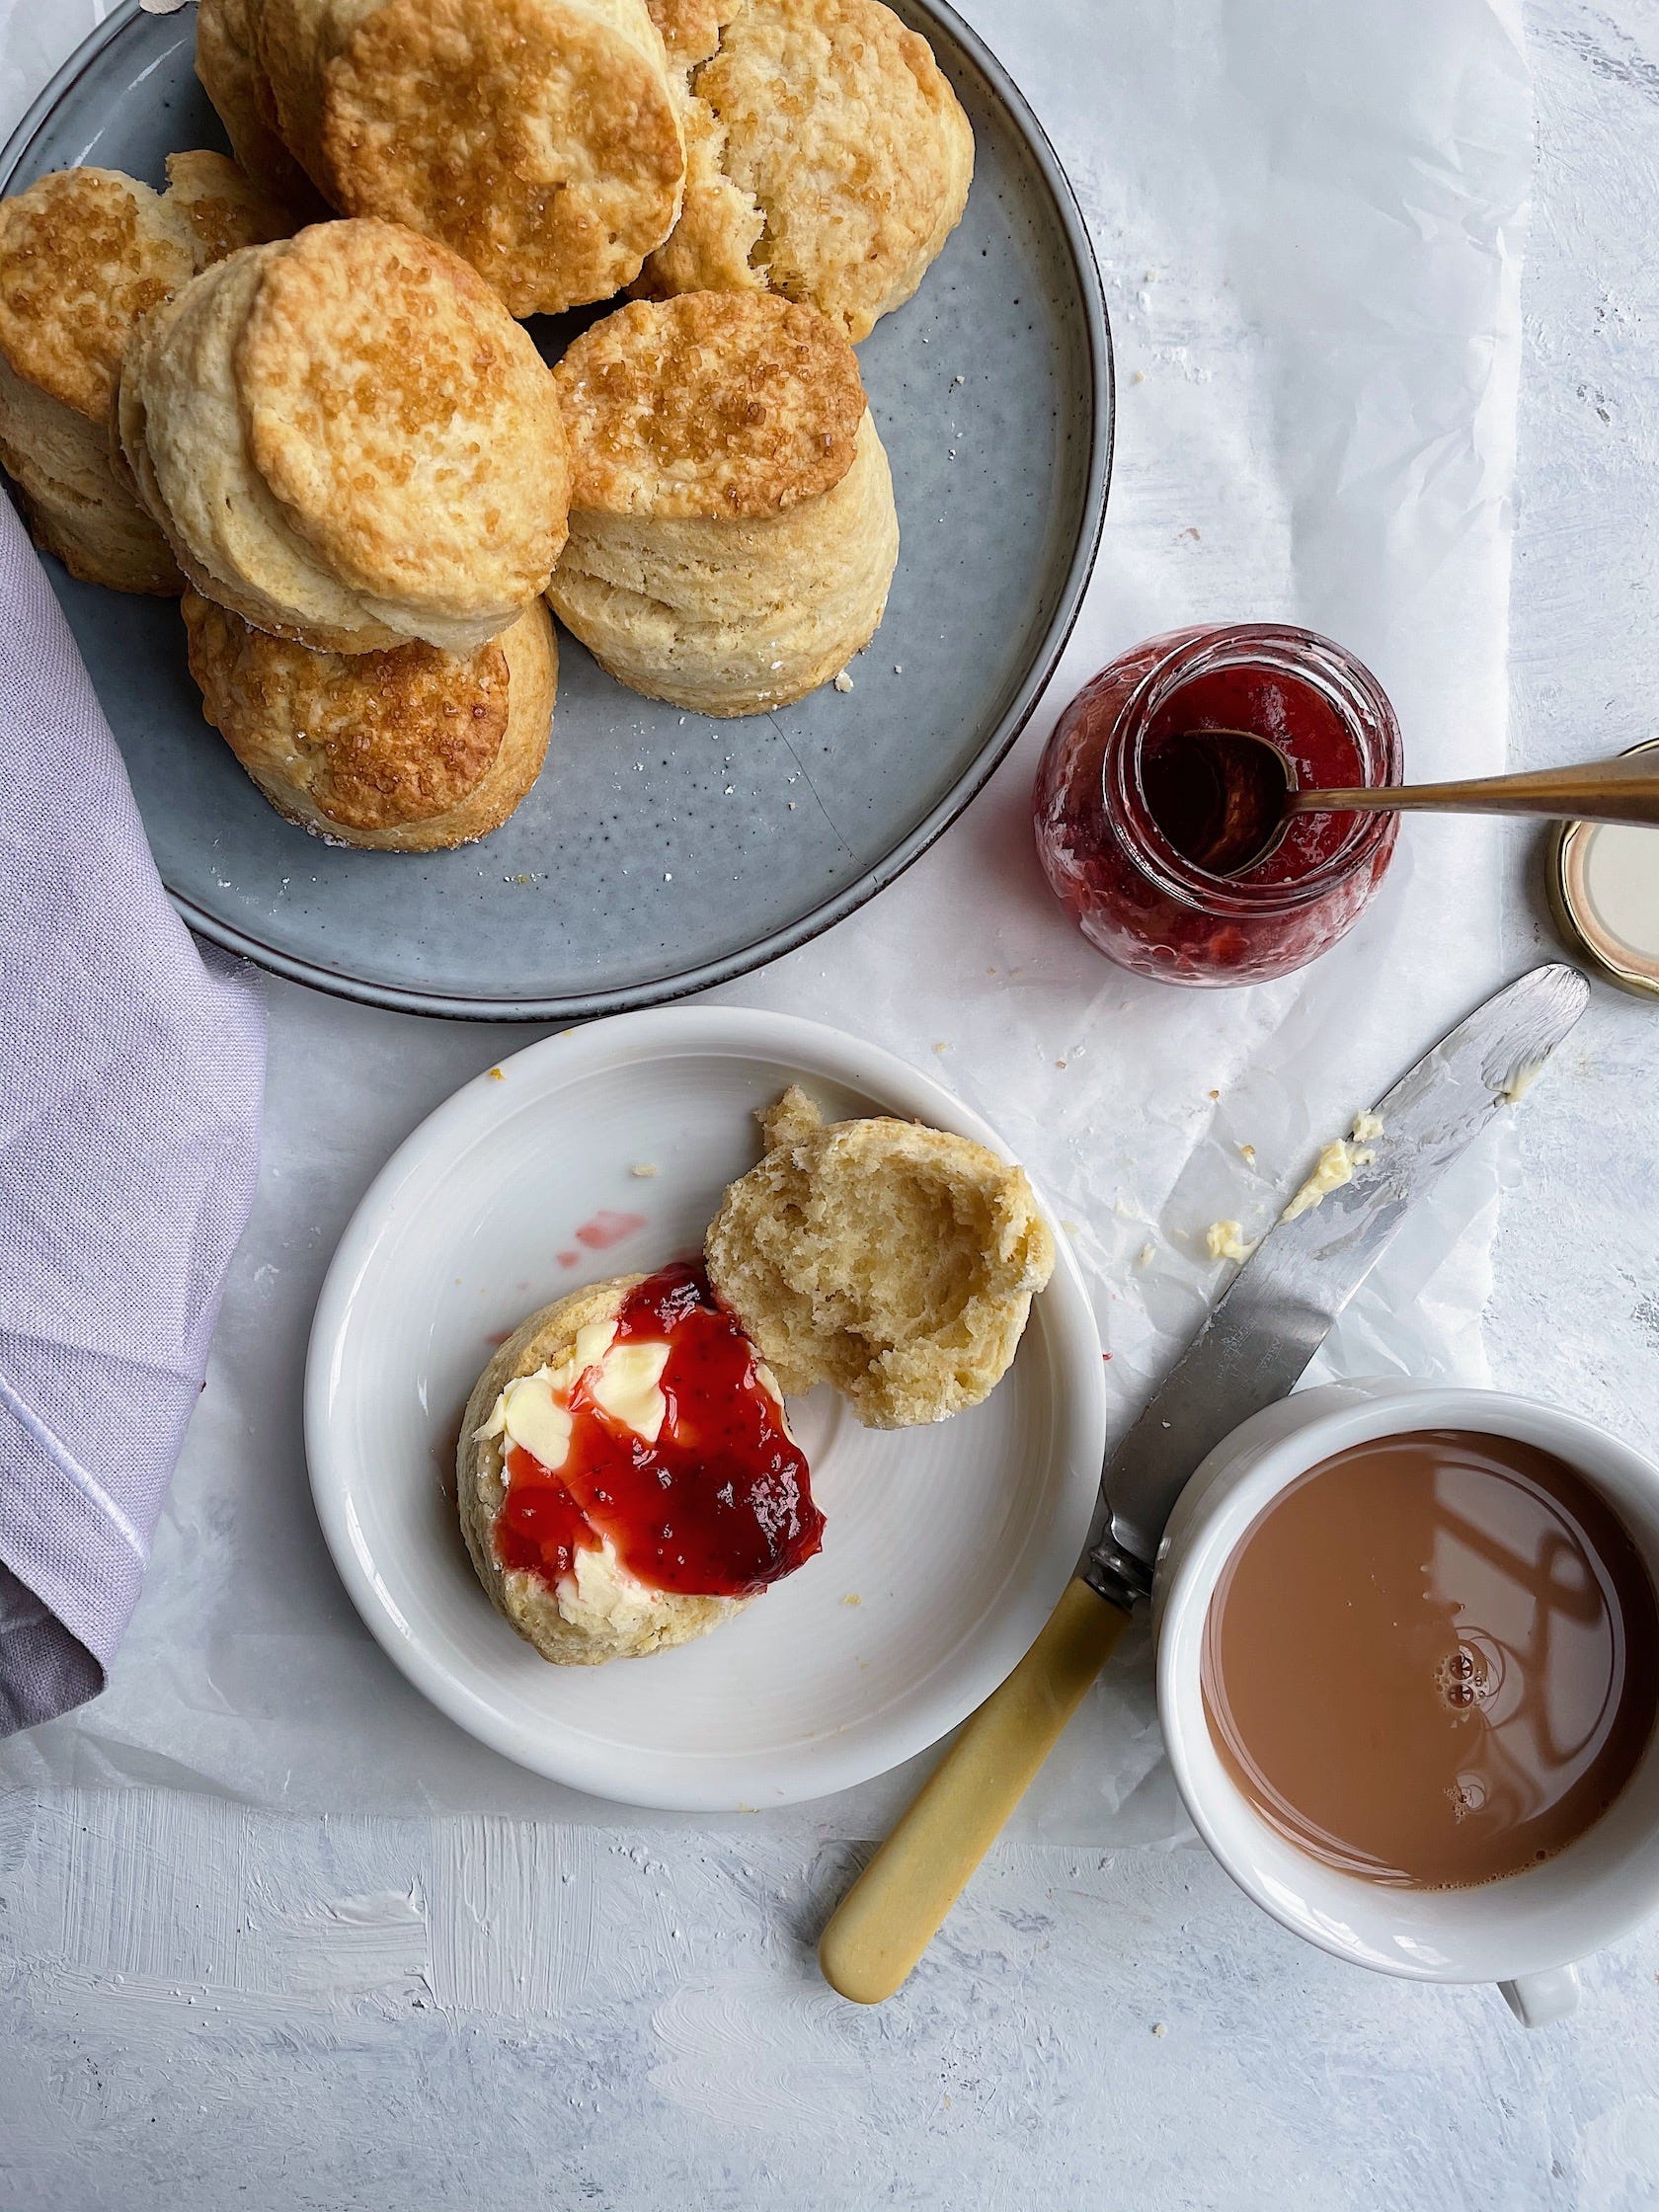
'S-CONE - The Fast Cake (v.proud of my own joke here!!)
I got another bee in my bonnet this week that I HAD to bake scones in time for Wimbledon… so I have… only I went off and a right little mission to work out a balance between flavour, texture, rise, and accessibility of ingredients.
The upshot of said testing was that I can’t decide what I like best: I love the flakiness and flavour that butter imparts but I also like the *moistness* that richer dairy products like sour cream/buttermilk - bring to the party.
So I settled on the fact that I have now have two recipes that I love - one which you can probably make right now as the ingredients are staples, and the other that potentially needs a trip to the shop.
Your emergency Scone
This is the flaky buttery fella - bakes up tall and has a slightly crisper exterior. The flavour is epic - I can eat them without any accompaniments. They have the potential to dry out a little quicker but can be frozen once cooled and rejuvenated in the oven if necessary. They follow a very similar technique and recipe to thousands out there with a few key steps to ensure towering, flavoursome scones.
Method
310g Self raising flour
3/4 tsp baking powder
pinch sea salt
75g Cubed Unsalted Butter – cold but pliable
45g caster sugar
155g whole milk
1 tsp freshly squeezed lemon juice
1 small egg – lightly beaten
Method
Combine the milk and lemon juice in a jug and leave for 20 minutes - it will slightly curdle.
Meanwhile, combine the flour, baking powder, salt and sugar in a large bowl. Add the cold cubed butter and rub into the dry ingredients until the mixture resembles fine bread crumbs. Pop the bowl in the fridge for the remaining time that the milk and lemon juice are doing their thing!
Once ready, remove the bowl containing the dry ingredients and butter from the fridge, make a well in the centre and add the milk/lemon juice. Work together, first with a cutlery knife, before using your hands to work the mixture into a rough dough. Very lightly flour the work surface and gently knead/fold the dough until it’s slightly smoother - 20-30 seconds is enough. Wrap in clingfilm and pop into the fridge to rest for 30 minutes.
Once the dough is rested, remove from the fridge and unwrap from the clingfilm, pop on a lightly floured work surface and use a lightly floured rolling pin to gently roll to around 2.5-3cm thick. Dredge a 5-6cm round cutter with flour and stamp out rounds – pop on a baking tray lined with baking parchment. Gently remould any remaining dough and keep stamping out rounds until it’s all used up - I get about 8 out of this dough. Cover the scones with clingfilm and rest in the fridge for a further 30 minutes.
Meanwhile, preheat the oven to 210C/190C fan and place a baking tray inside to heat up. Once the dough has rested for a second time, remove from the fridge, brush the tops with egg wash being careful not to let it drip down the sides too much. Next, remove the preheated baking tray from the oven and carefully transfer the baking parchment (and scones onto the warm tray). Bake in the oven for 12-15 minutes or until lightly golden on top.
Once baked, remove from the oven, transfer to a cooling rack and allow to cool before adding a dollop or clotted cream/creme fraiche or thick yoghurt & jam.
(SEE NOTES BELOW FOLLOWING RECIPE)
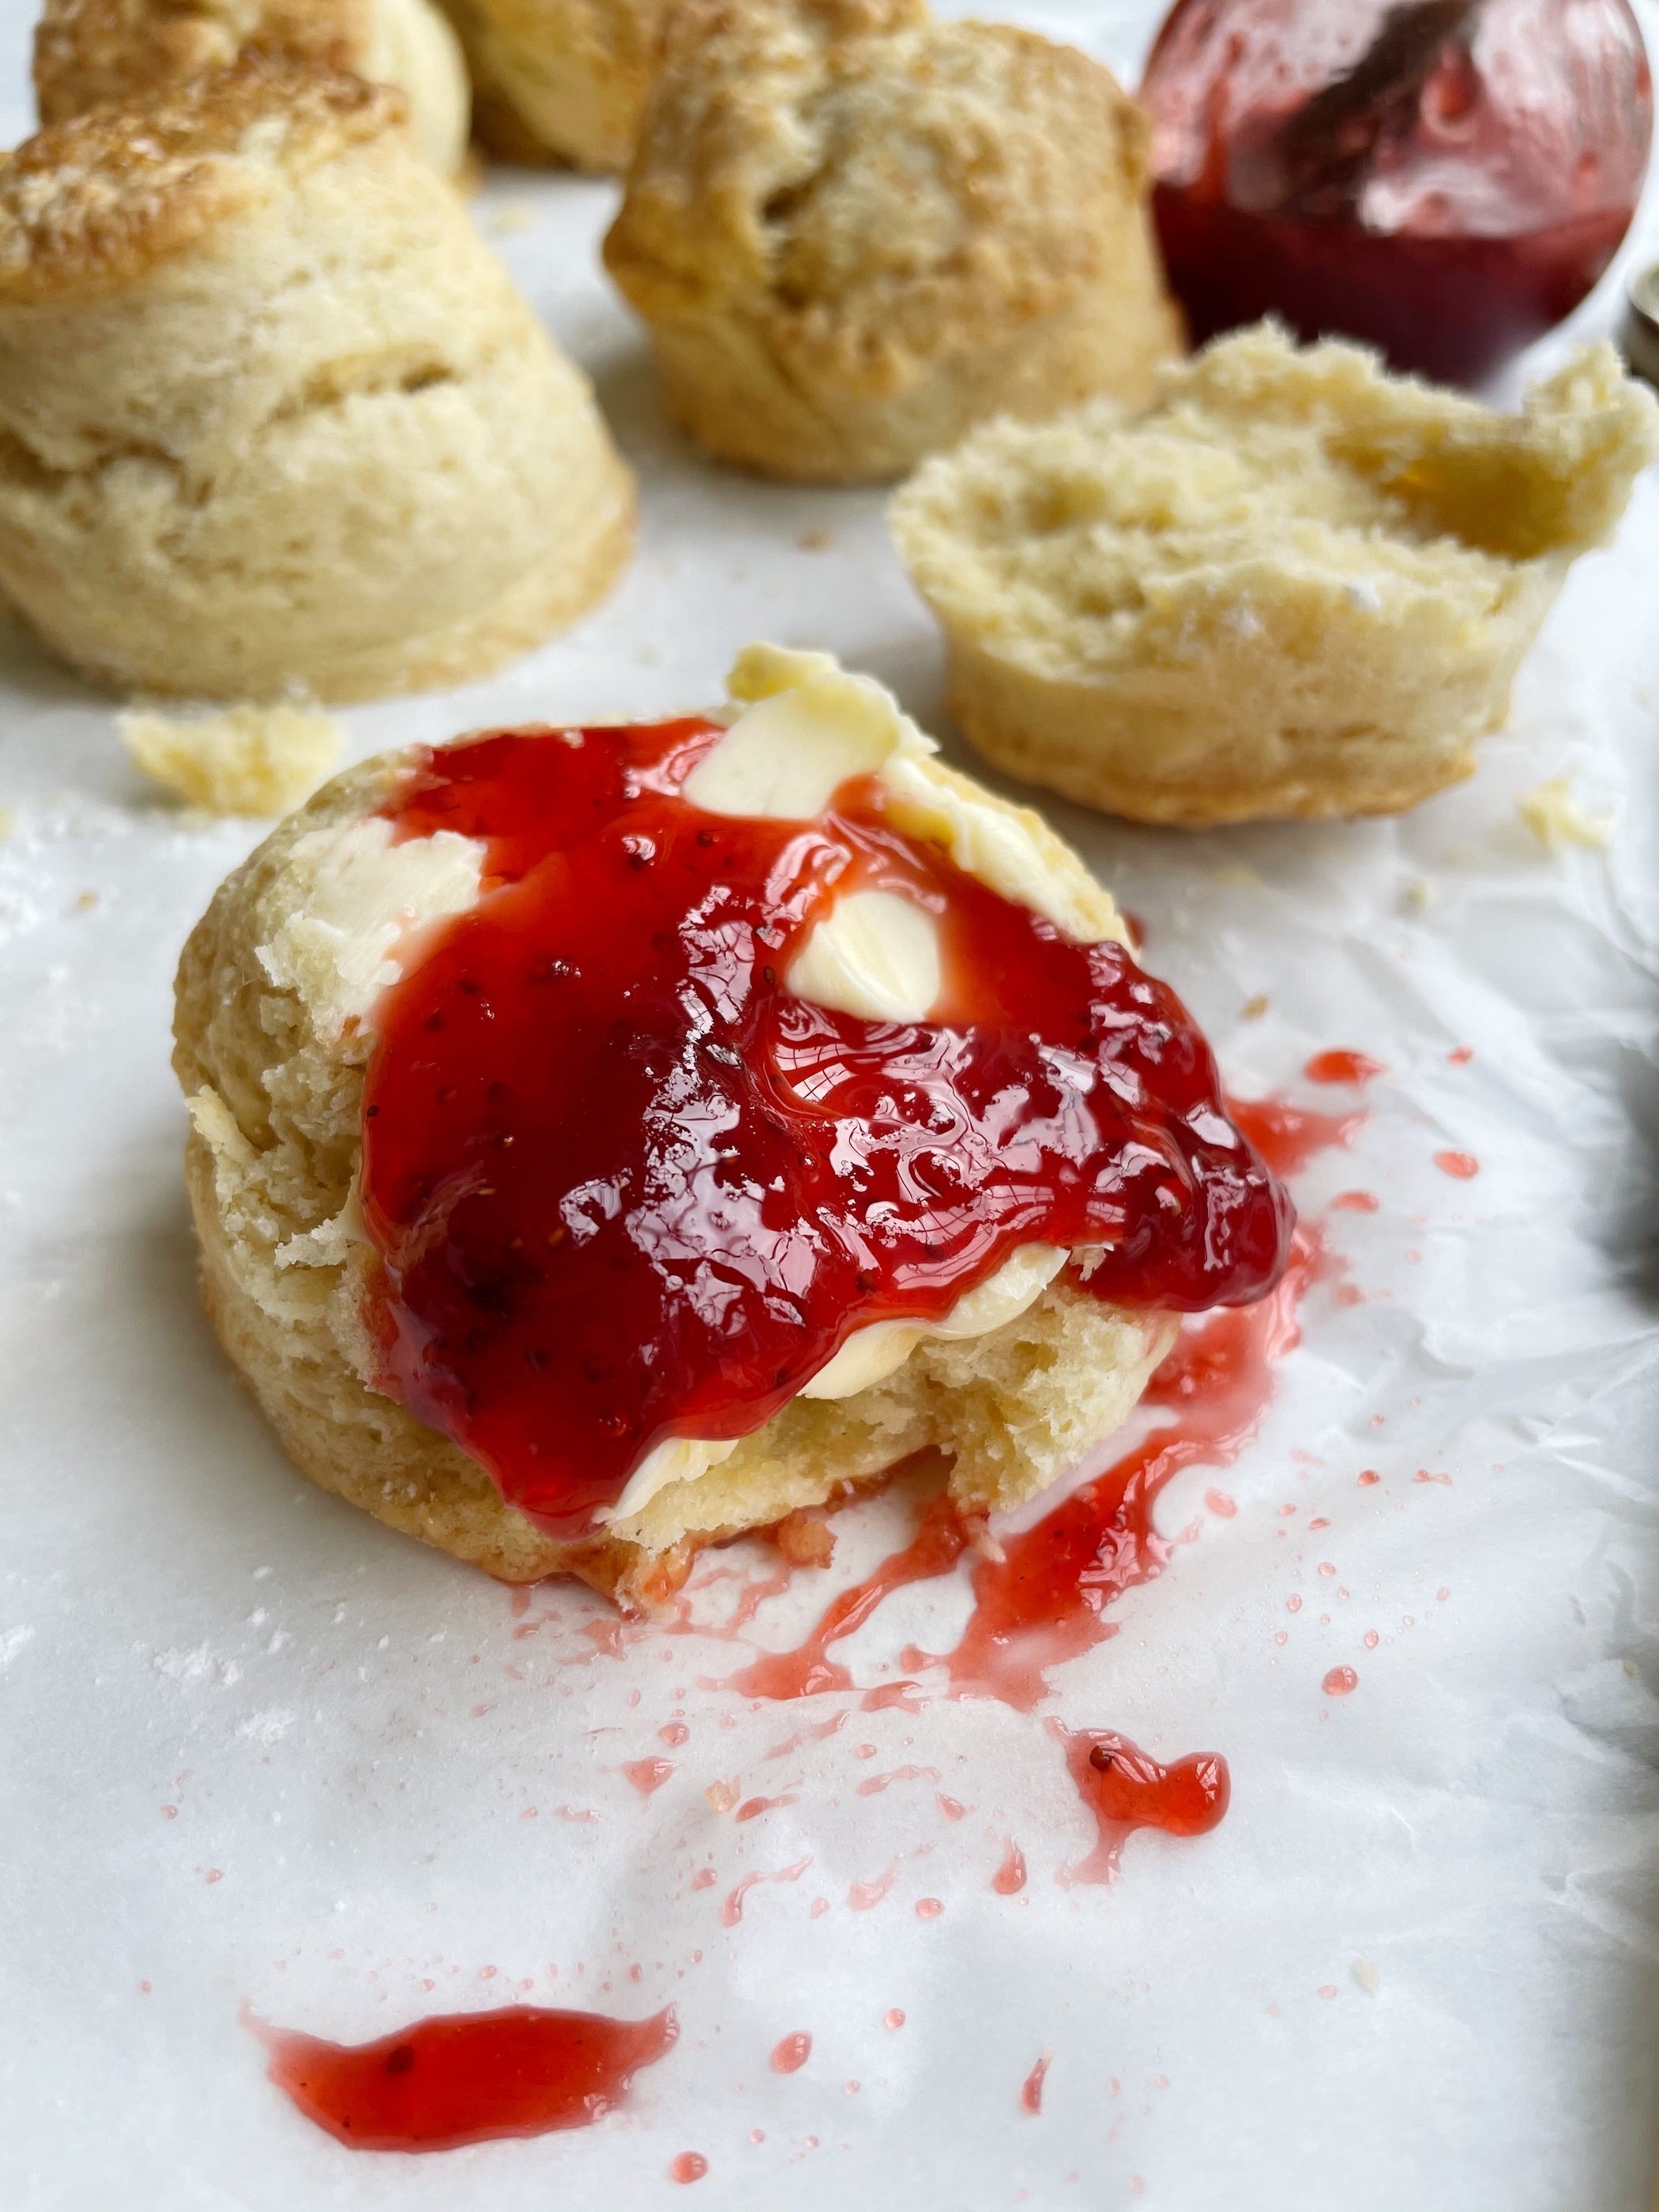
A WIMBLEDON WORTHY SCONE
Ok… so this one is the *moist*, fluffier version. They maintain a slightly softer exterior and possibly have a little less buttery flavour, nevertheless, they’re corkers and - bonus feature- they stay fresher for longer.
Ingredients
310g Self-raising Flour
1/2 tsp Baking powder
Pinch of sea salt
55g Cubed Unsalted Butter – cold but pliable
55g Caster sugar
120g Buttermilk
80g Soured cream
2 tsp Lemon juice
1 small egg – lightly whisked
Method
Combine the soured cream, buttermilk and lemon juice and leave for approximately 20 minutes.
Measure out the flour, baking powder, sugar and add a pinch of salt. Add the cubed butter and rub into the flour until it resembles breadcrumbs.
Add the liquid mixture to the dry ingredients and combine using a wooden spoon until it comes together to form a rough dough. Dust your work surface with flour and lightly knead the dough for around 30 seconds or until it’s a little smoother. Cover with cling film and rest for around 30 minutes in the fridge.
Once the dough is rested, remove from the clingfilm, pop on a lightly floured work surface and use a floured rolling pin to gently roll to around 3cm thick. Dredge a 5-6cm round cutter with flour and stamp out rounds – pop on a baking tray lined with baking parchment. Gently remould any remaining dough and keep stamping out rounds until it’s all used up - get about 8 out of this dough. Cover the scones with clingfilm and rest in the fridge for a further 30 minutes.
Preheat the oven to 210C/190C fan and pop a second large baking tray in the oven to preheat. Once rested, remove the clingfilm from the scones and brush the tops with egg wash. Remove the preheated baking tray from the oven and carefully transfer the baking parchment (and scones onto the warm tray). Bake in the oven for 12-15 minutes or until lightly golden on top.
Once baked, remove from the oven, transfer to a cooling rack and allow to cool before adding a dollop or clotted cream/creme fraiche or thick yoghurt & jam… in whichever order you prefer - I think I do cream then jam if you’re wondering - doesn't it just make sense - my Mum says it doesn’t make sense and that it should be there other way around!?
NOTES (apply to both scone recipes):
I’m by no means a master scone maker - in fact, I would like to meet one to learn the REAL tricks but… as far as I have gathered the few key things here are:
Make sure your self-raising flour is within date
Don’t overwork your dough, but make sure you work it together enough - think Goldilocks, you’re aiming for ‘just right’ - I’m not sure I achieve this but practice makes perfect right?
The resting phases are important for the rise, definition and tenderness of the dough - think pastry.
A preheated baking tray also helps with the rise.
The lemon juice/buttermilk makes the mix slightly acidic, which helps to boost the raising agents in the dough - again helping with rise.
**For fruit scones - add 75g dried fruit of your preference to the dry ingredients before adding the wet ingredients and bake as per instructions.
QUICK STRAWB ‘JAM’
Ok so this technically isn’t jam - it’s not quite as sweet but super strawberry-y (showcasing the wonderful fresh straws we have around at the mo). Honestly it’s such a treat that I recommend it - also an excellent yoghurt/ice cream/porridge topper.
Ingredients
250g punnet of fresh strawberries - frozen also work
65g Caster sugar
10ml lemon juice
METHOD
Combine all of the ingredients in a saucepan and leave to macerate for a minimum of 20 minutes.
When ready, place over a medium heat and stir until the sugar has dissolved - mash some of the strawberries a bit with the back of a fork. Once the sugar has dissolved, turn up the heat and cook until reduced and sticky, approx 10 minutes or so.
Jams should technically reach 104-105C or setting point on a digital thermometer, however, due to the lower amount of sugar and minimal pectin in strawberries, you are unlikely to achieve this so
ENERGY BALLS
I’ve always loved an energy ball - anything nutty, with a touch of sweetness and guaranteed to keep me firing on all cylinders, is a winner as far as I’m concerned. I know there are THOUSANDS of recipes out there but these are my favourite - they’re super easy to prepare, full of good stuff, keep well - particularly when refrigerated and are great to pop in your bag as an emergency snack if you’re out for the day - give them a whirl!

Ingredients
100g (about 5) medjool dates - the really squishy ones
60g Peanut butter (manilife - you know the drill)
1 tbsp Cocoa powder
1 tsp coffee powder optional
1 tsp chia seeds
optional - 1 tsp maple syrup
dribble off oat milk or water to loosen if necessary
Method
Blitz the dates to a paste in a blender. Add the remaining ingredients (including maple syrup if you like things a little sweeter) and blitz together - don’t over do it. Check the mixture, when you give it a squeeze it should stick together. Portion into 8 balls and grab and go as you need them - I refrigerate them so that they keep for longer, plus I like them cold!
A FEW CAMPING FOOD ESSENTIALS
OK this is absolutely personal but when off on my annual camping trip there are a few essentials that I pack food wise so here goes:
Stuff to make up my overnight oats - I’ve found that I need to be fuelled well, I can’t be faffed with cooking a breakfast every morning so rustling up so OO is a no brainer.
Energy Balls - see above, as well as roasted nuts/seeds and I love a bit of malt loaf too - I have a recipe for my favourite malt loaf in my first book ‘The Joy of Baking’ and it’s a cracker. Soreen is also a winner of course.
Crisps and a cold drink (alcohol or otherwise): there is no better pre dinner snack when you get back to your tent after a long fun-filled day than crisps and a cold fizzy drink. My top tier crisp choices are: Sea salt and Balsam Kettle crips, SLABS ready salted crisps - if you haven’t tried these please do - they’re MIGHTY crisps and in my opinion a champ of Crisp-dom, and - ok so these are kinda #health, but I love Emily Veg crisps - rainbow roots/Garden greens, they really don’t taste as healthy as they sound!
Halloumi, corn on the cob, veggies- any choice of BBQ goodness. (Obv sauces too) PLUS… baked beans - suffice for anything, cheese for sandwiches - limited risk of it going off and DIPS - hummus, guac, salsa, yes PLEASE.
Popcorn, hot chocolate, marshmallows - all v.important - I don’t even love a hot chocolate but if you’re BBQ-ing, it’s obligatory right?
All the coffee & tea - because it’s inevitable that you won’t sleep great and will therefore need all the caffeine you can get your hands on.
An important EXTRA:
I thoroughly recommend my good friend David’s granola - I tried it on Sunday and OMG it’s GOOD. I have a few granola recipes which I enjoy but this employs a clever little cluster-creating hack (and we all love clusters right?) in the form of soaked linseed. David explains in his post that these little seeds have a mucilage gum in the husk which when wet becomes sticky - perfecting for binding ingredients - and when baked yields a lovely crisp and crunchy granola. Further to this it’s PACKED with goodness, not at all sweet, and your house will smell BLOOMIN divine while it bakes - baking anything with cinnamon in it gives off the most warming, comforting aroma. I will add… mine baked a little quicker than David’s time estimation (only 45 minutes) - possibly just my oven - but as with all bakes, keep an eye on it and if it looks like it’s starting to catch, either turn the temp down a little or remove a bit earlier than it suggests -basically, judge accordingly.
One final thing… a word about Dame Deborah James - My Dad and I had the absolute pleasure of chatting to Deborah on her podcast ‘You me and the Big C’ back in October 2020. I’ve never met such an inspirational, kind and courageous woman; she helped my Dad seek further treatment, she personally supported us both, and she was a constant beacon of hope. Deborah leaves a lasting legacy and has saved countless lives through all the work she did. My thoughts are with her family and loved ones at this heartbreaking time.
…and never forget to do as Deborah said:
“Find a life worth enjoying; take risks; love deeply; have no regrets; and always, always have rebellious hope.”
Right, that’s it from me… hope you’re all having a marvellous week and have a lovely weekend! Love and hugs as always! XXX
Enjoy the race! We'll be watching from the USA. I love The Comfort Chronicles. You infuse your personality together with the recipes in such an effortless and enjoyable way. We will not be camping, but we will put togther a picnic from The Comfort Chronicles...set up in the family room...and watch The British Grand Prix...right here in Ohio, USA. Thank you, Steph!
Hi Steph! I just made my first attempt at your Bap recipe, and it was a great success! Thank you for the thoughtful recipe and instructions, you are truly a baking inspiration to me. I really resonate with you in the comfort of baking and am finding more joy from it by following your recipes. Thank you for these. God Bless you
- Em